Setting up Instant Websites on AWS for self hosting
There are a couple of things you will need to do before Instant Websites is able to publish to your AWS S3 bucket.
Your account will need to be configured with the correct IAM policies
Your AWS s3 bucket will need to be configured for static web hosting
Configuring your AWS account for Instant Websites
It is recommended to set up a new separate account on AWS for your Instant Websites publishing.
Navigate to IAM in the AWS console.
Select Users
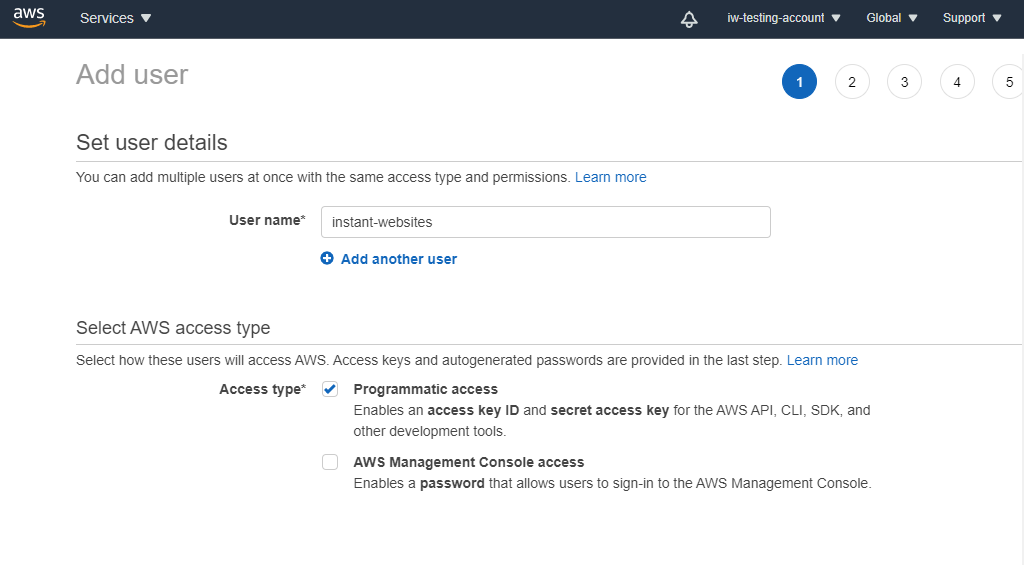
Select Add User
Enter a User name and check Programmatic access. Selecting Programmatic access ensures that AWS generates your API access keys.
Click Next: Permissions
As part of the account creation process, you will be required to add policy permissions. To run Instant Websites you will need to add certain permissions and access from your account to your S3 bucket.
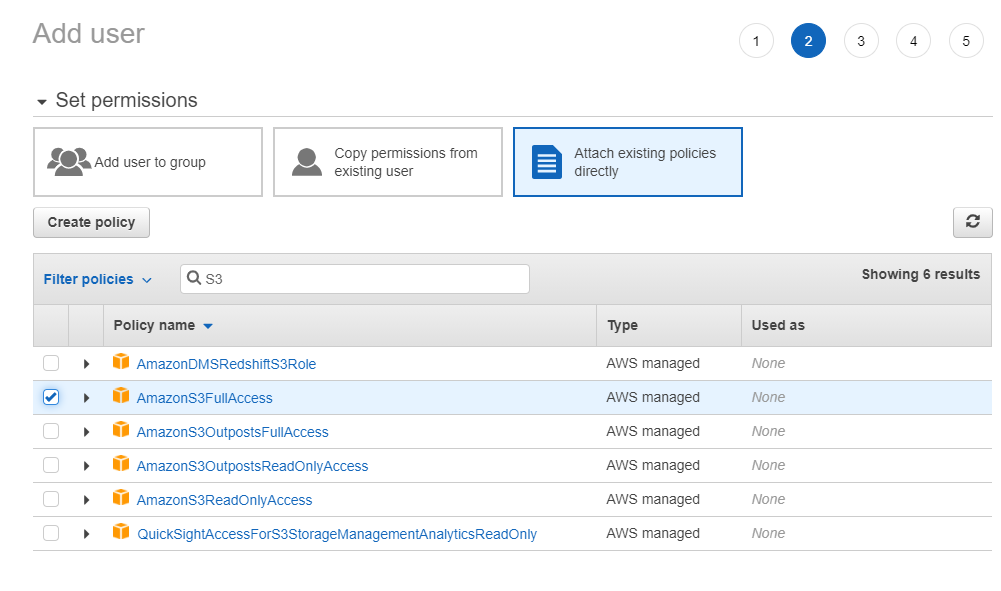
If you are confident working with S3 buckets you can use the Attach existing policies directly option and add in the AmazonS3FullAccess policy, which will give your account ample access to your s3 bucket.
If your goal is to simply generate and upload your site to your s3 bucket, creating your own policy may be prudent and you will only require the following policy actions:
PutObject
GetObject
DeleteObject
GetBucketPolicy
PutBucketPolicy
GetBucketWebsite
PutBucketWebsite
ListBucket
HeadBucket
After attaching your policy, click Next: Review
On the final step of the account creation process, ensuring you've selected programmatic access in Step 4, your access key ID and secret access key should be displayed.
Important!
Be sure to note down and save your Access Key ID and Secret Access Key values before navigating away from the page.
They will be required for setting up your Instant Website connection.
Configuring your S3 bucket for Instant Websites
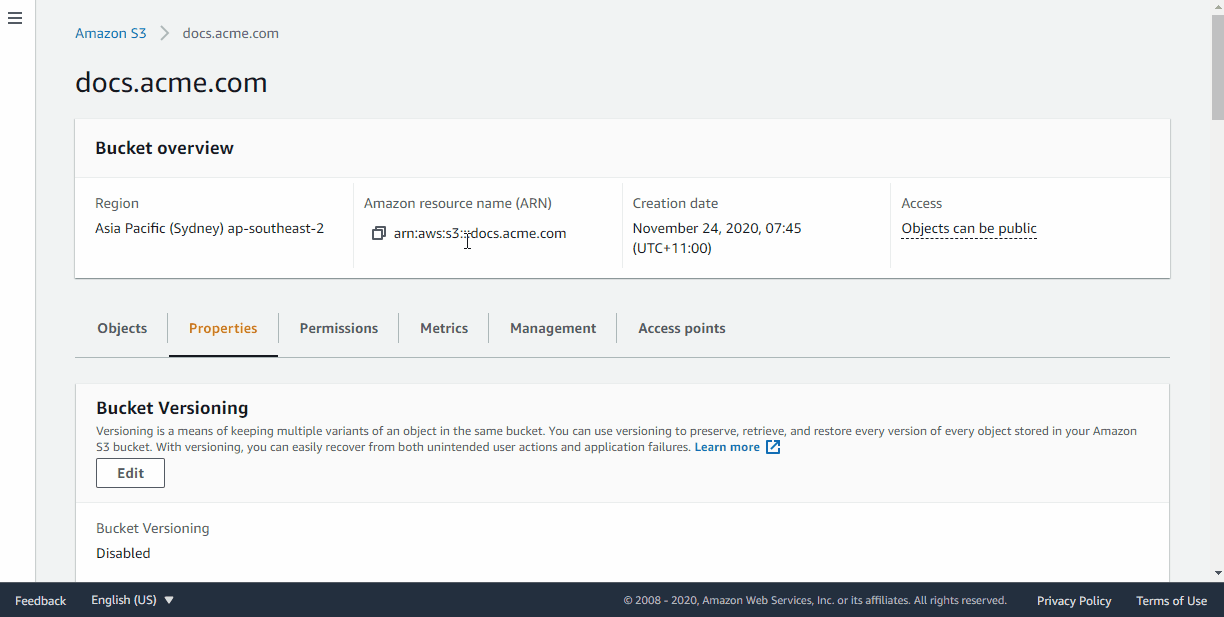
You will need to first create a bucket. Be sure to create your bucket name as per your desired domain name.
Example: If your domain is to be docs.acme.com, then your bucket name should be docs.acme.com
This is essential for securing your site with SSL. Creating a bucket with the default settings should be fine.
After creating your bucket, you will need to configure the public access settings as per the page permissions required for public website access.
Navigate to S3 in the AWS console.
Select your bucket.
Select Edit public access settings.
Clear or Uncheck block all public access, and click Save.

After creating your bucket, you will need to configure it for static website hosting:
Navigate to S3 in the AWS Console.
Click into your bucket.
Click the Properties section.
Click the Static website hosting option.
Select Use this bucket to host a website.
Enter index.html as the Index document page.
Enter error.html as the error document page.