Space Configuration
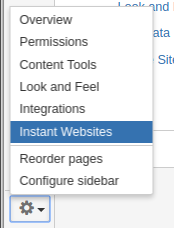
To access Instants Websites from a Confluence space, a user must have Space Administration permission. Once this permission is granted, the user can navigate to Instant Websites by going to Space Tools → Instant Websites.
General Settings
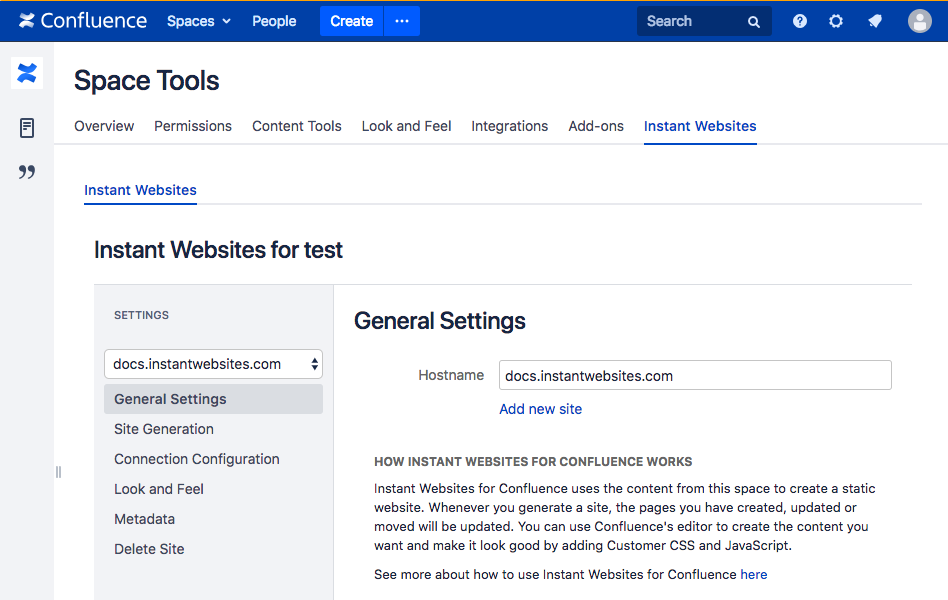
The first time you access Instant Websites for a space, you will be presented with a page to set the hostname for an initial website.
You can either create your own site and configure it yourself, or get started quickly and remove the headache of configuring your own web service and host your site with us!
Your website will be hosted on the highly scalable and industry-leading cloud services by Amazon Web Services.

A Confluence space can have many sites configured. This was done in an effort to allow for drafting and go-live environments.
A site and it's configuration represents the final hosted public website.
Once you set the hostname of your initial website, you will land on the General Settings page and see a list of further options configuration options.
Site Generation
This is detailed in the Site Generation page
Connection Configuration
The next step is to create a connection.
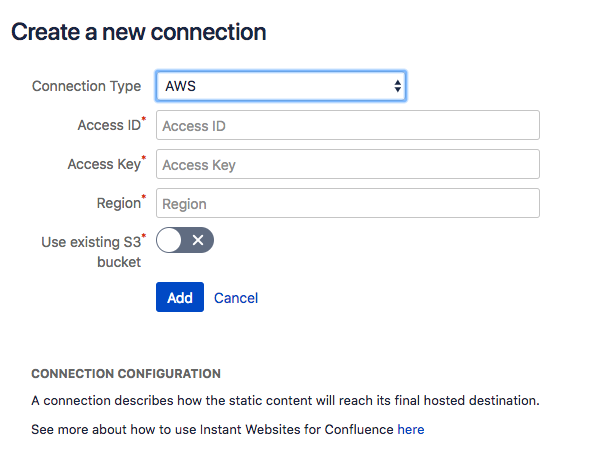
A connection describes how the static content will reach its final hosted destination.
Depending on what has been enabled in the Instant Websites Global Configuration by your Systems Administrator, you will be presented with a drop down list of connection types.
You will not be able to generate your static site if there is no connection configured or if you system administrator has disabled the configured connection type.
Connections
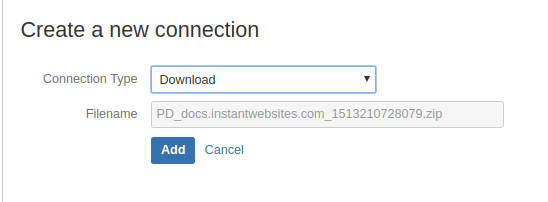
Download
A Download connection types will generate an uncompressed zip file for you to download containing everything you need to upload to a web host of your choice. By default this is the only connection type enabled on initial installation of Instant Websites.
The name of the zip file is set automatically.
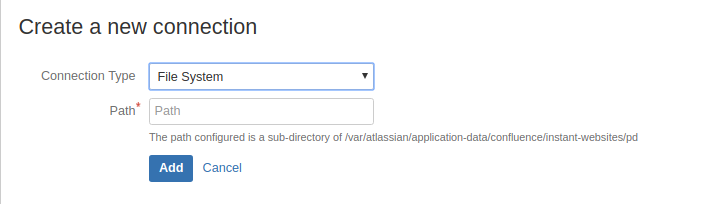
File System
A configured File System connection will publish all generated files to a location on your Confluence server. Note that this is restricted to a subsection of Confluence's Home Directory.
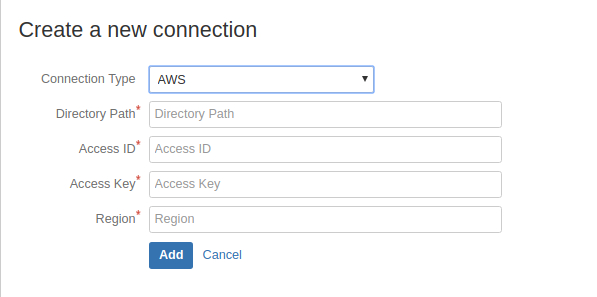
AWS
By selecting an AWS connection type, you will be asked for your AWS credentials. On generation all of the static site content will be published to your own S3 Bucket
Git
Push your website to Bitbucket, Github or your own git server by selecting a Git connection type. Once the allocated repository, branch and SSH Private key have been saved you can generate your static site. Once generated the site will be pushed to your chosen repository and from there you can benefit from the multitude of hosting options available. Our favourites are Netlify and Aerobatic.

Advanced Configuration
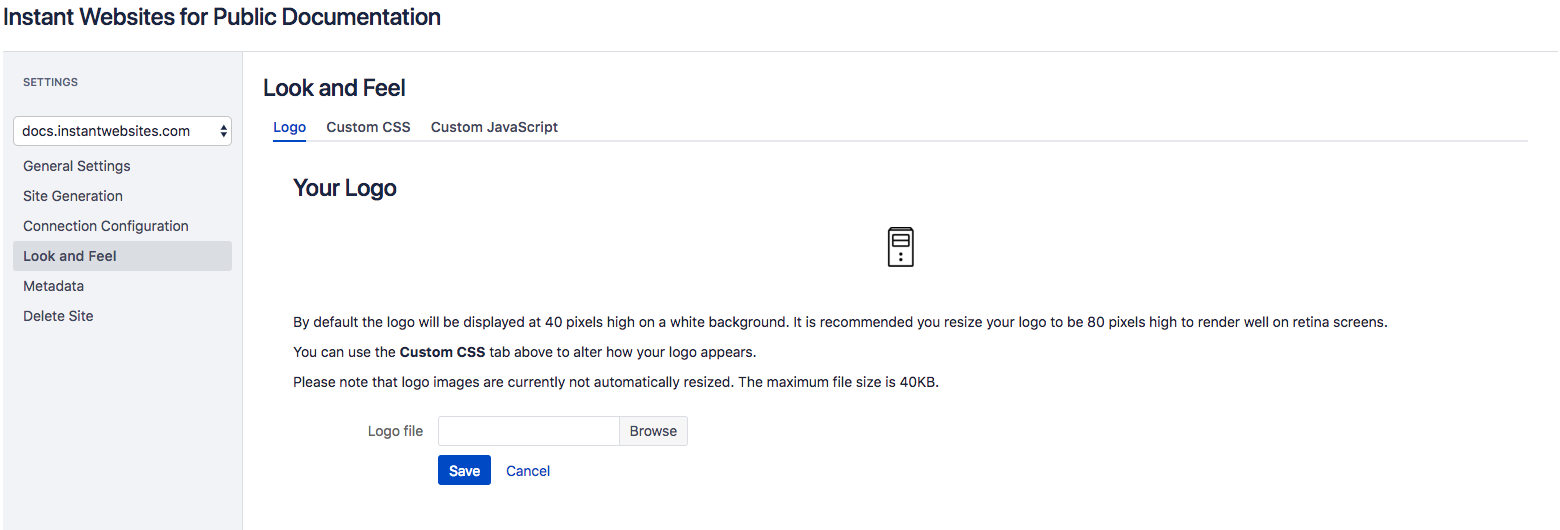
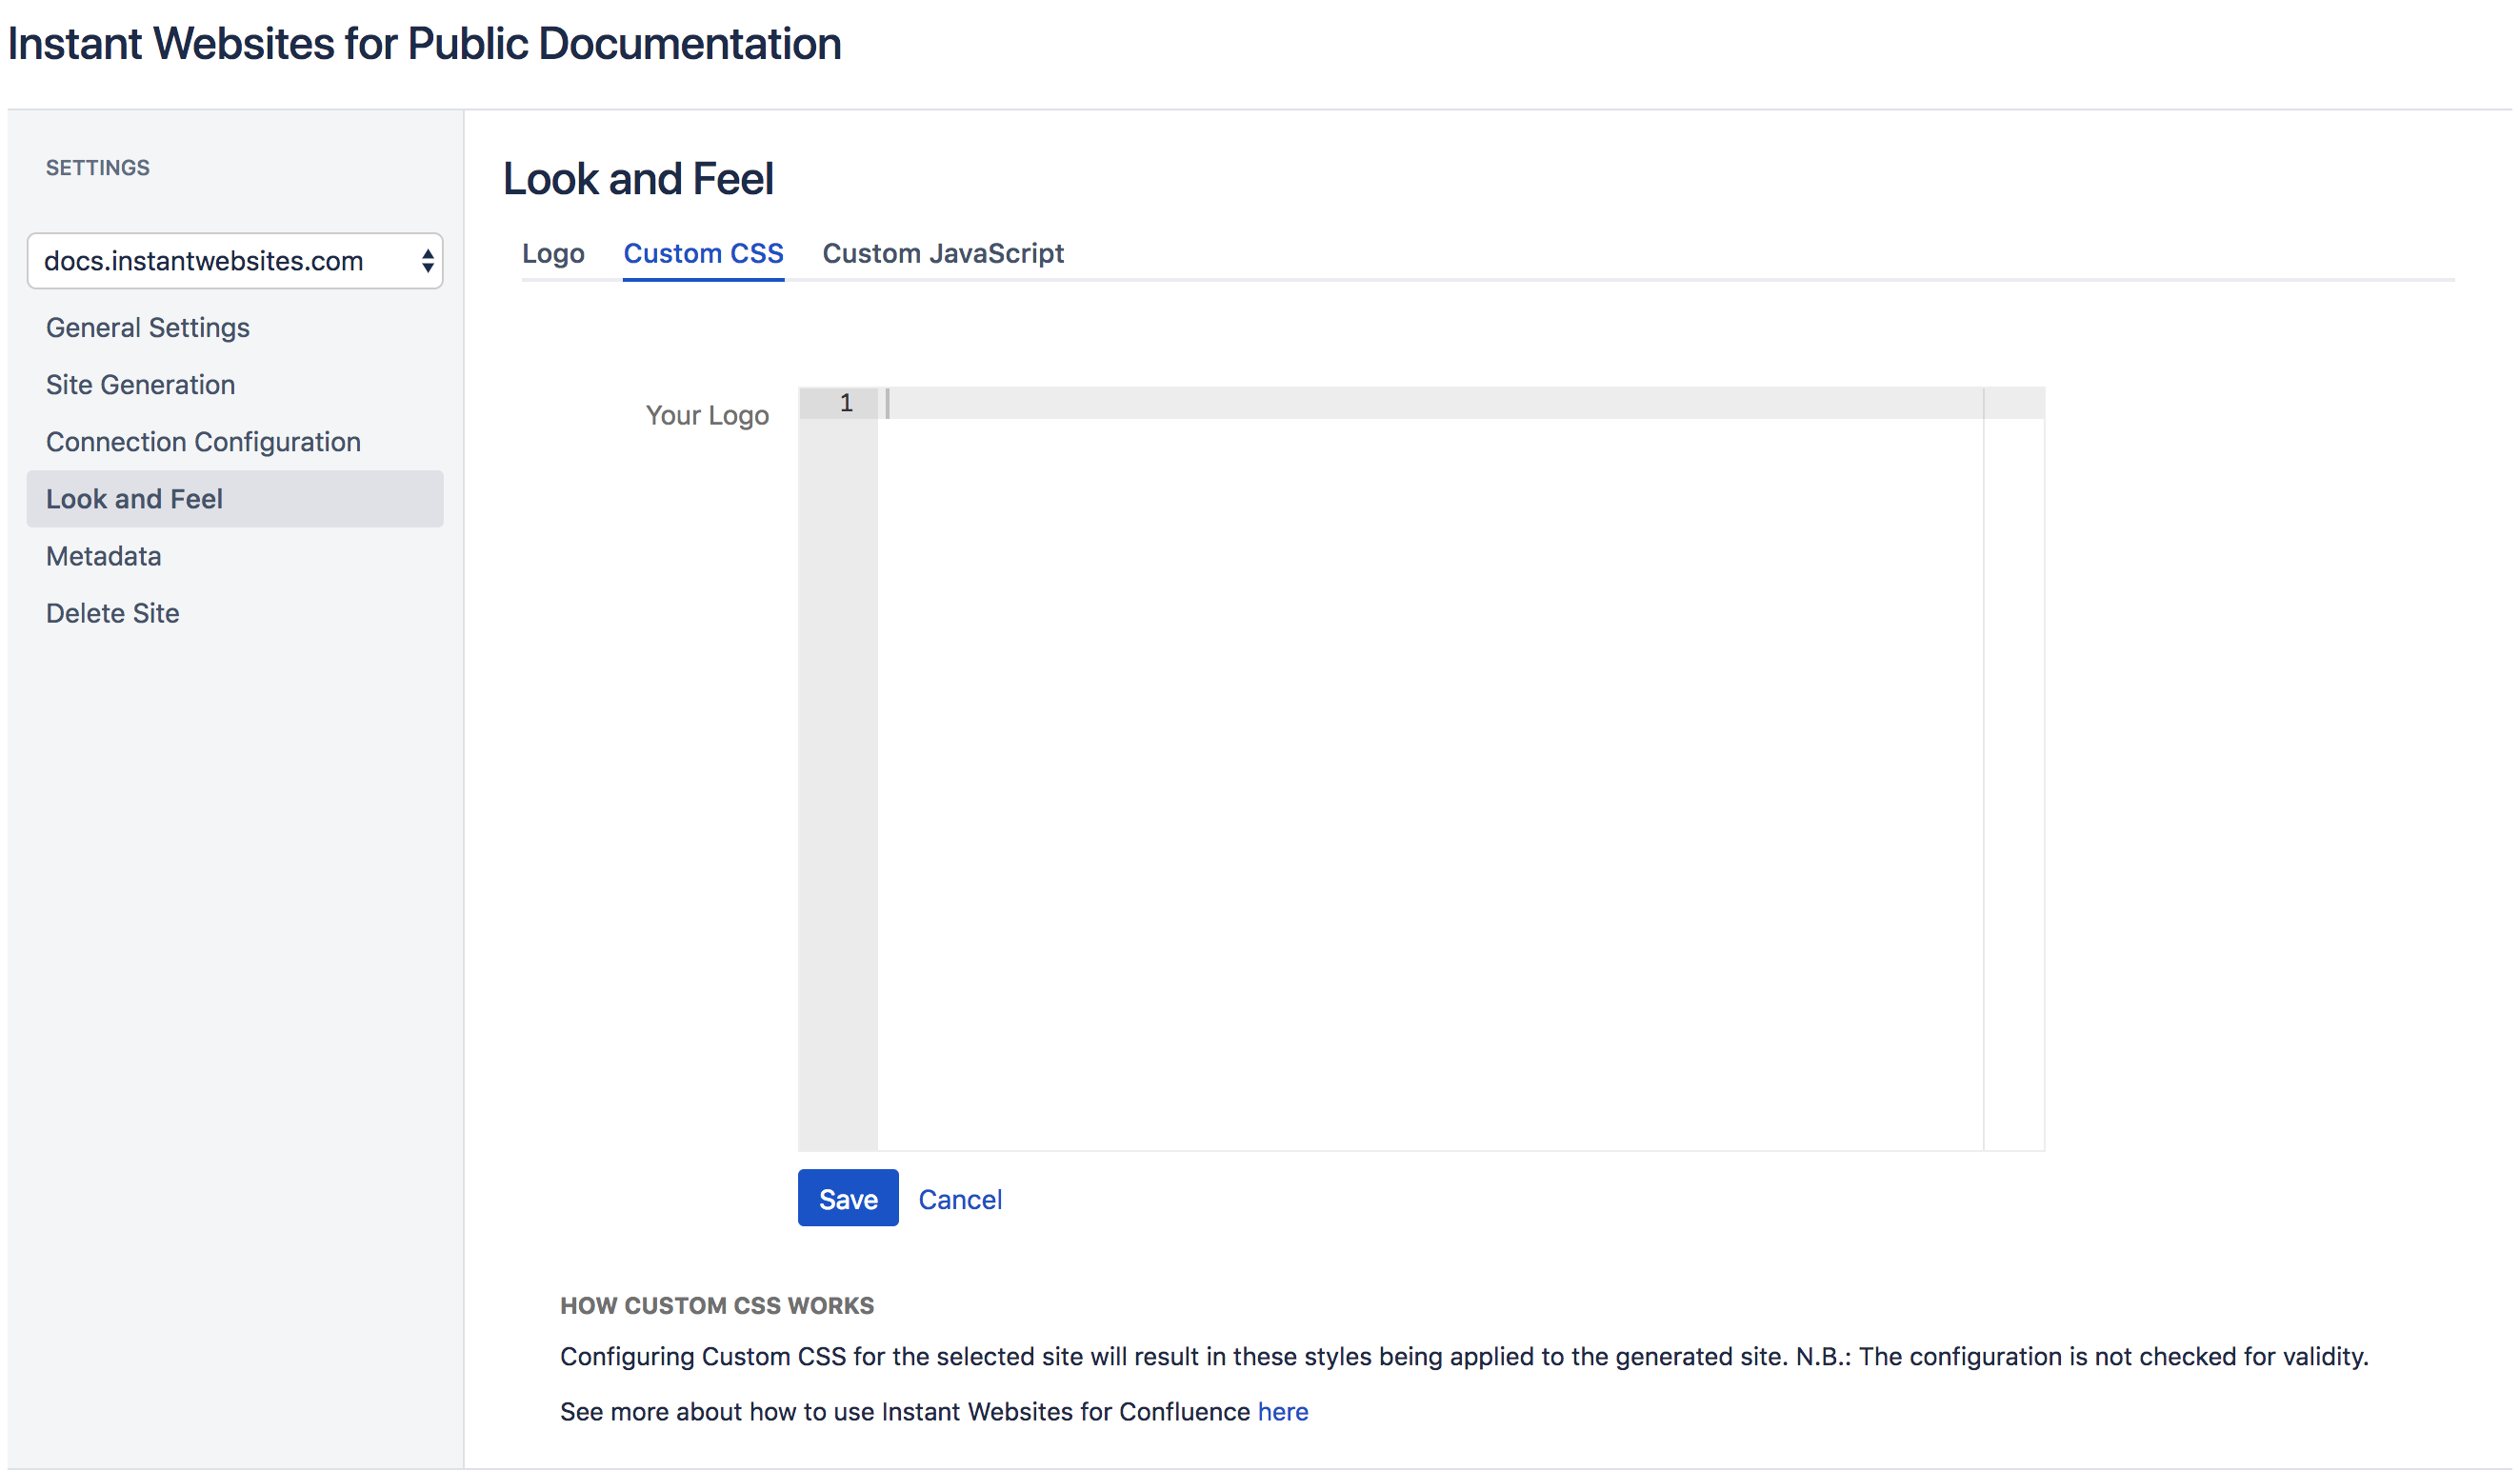
Look and Feel
You can change the way your published site looks and behaves by adding some Custom CSS and Custom JavaScript.
Navigate to the Look and Feel panel and select Logo, Custom CSS or Custom JavaScript. You can type directly into content areas or paste your text. Click Save.
To have the changes applied to your published site, we recommend a full site generation.

Metadata
The Metadata panel allows you to configure your robots.txt and sitemap.xml files.
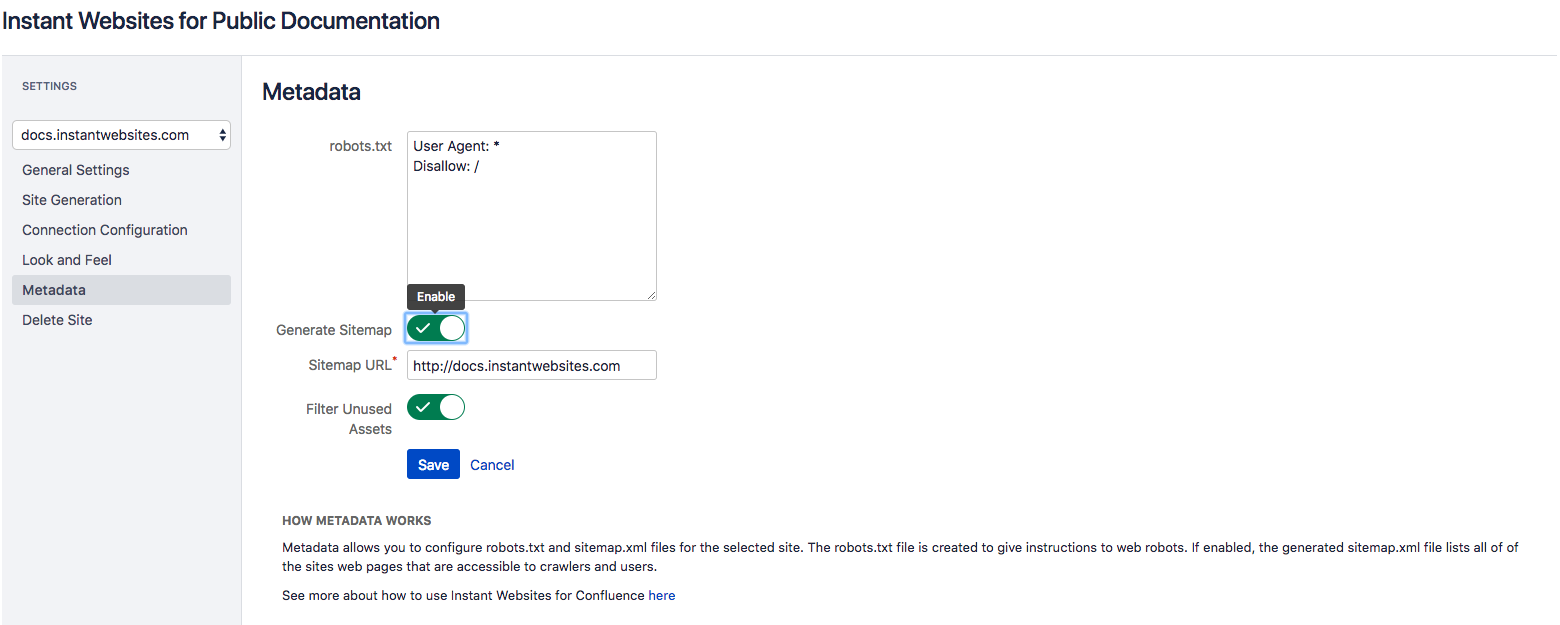
robots.txt
A robots.txt file is created to give instructions to web robots and crawlers.
sitemap.xml
A sitemap.xml file, when enabled, will list all of the published site's pages that can be accessed by users and search engine crawlers.
Generating a sitemap.xml is disabled by default. When switched on the user is presented with a prepopulated text field with the Sitemap URL. This is based on the hostname provided when you created your site.
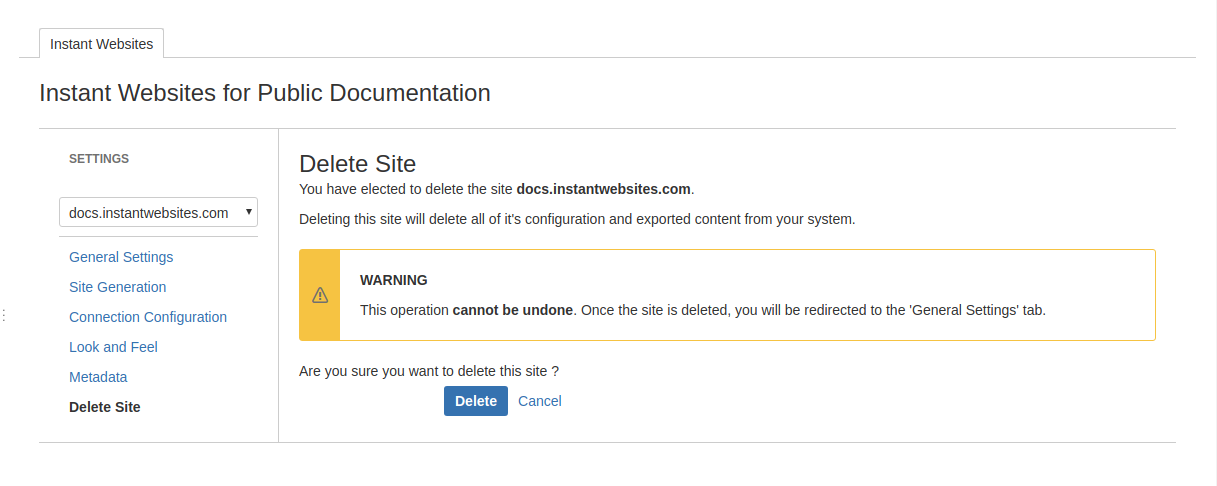
Delete Site
This final panel allows you to delete a created site.
By selecting to do this, ALL configuration associated to this site, including the generation history will be lost.