
Using Instant Websites
Enabling Instant Websites for a Confluence Space
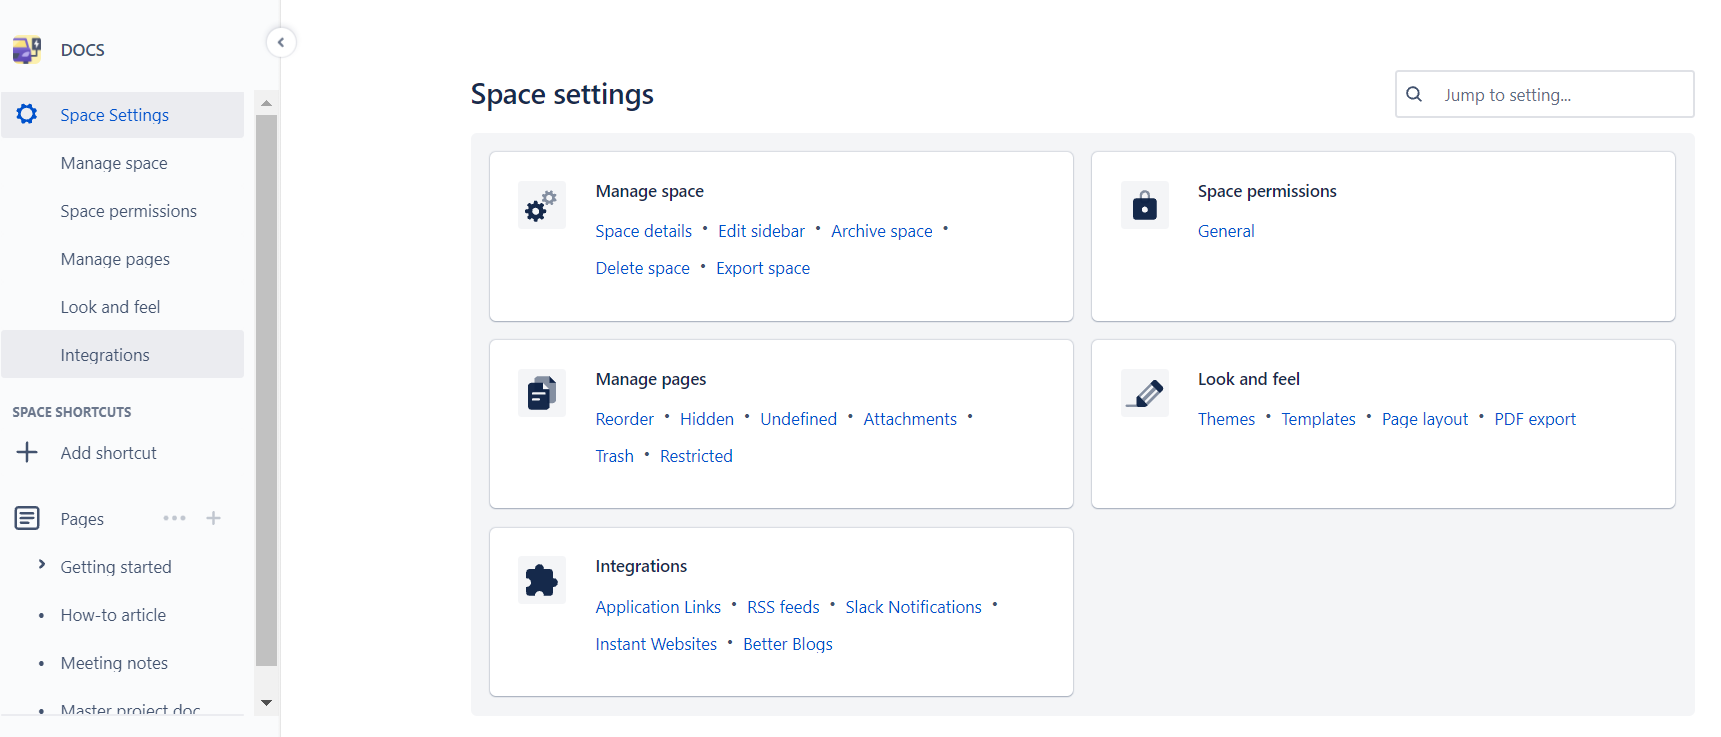
Space Administrators can access 'Instant Websites' via Space Tools -> Integrations:
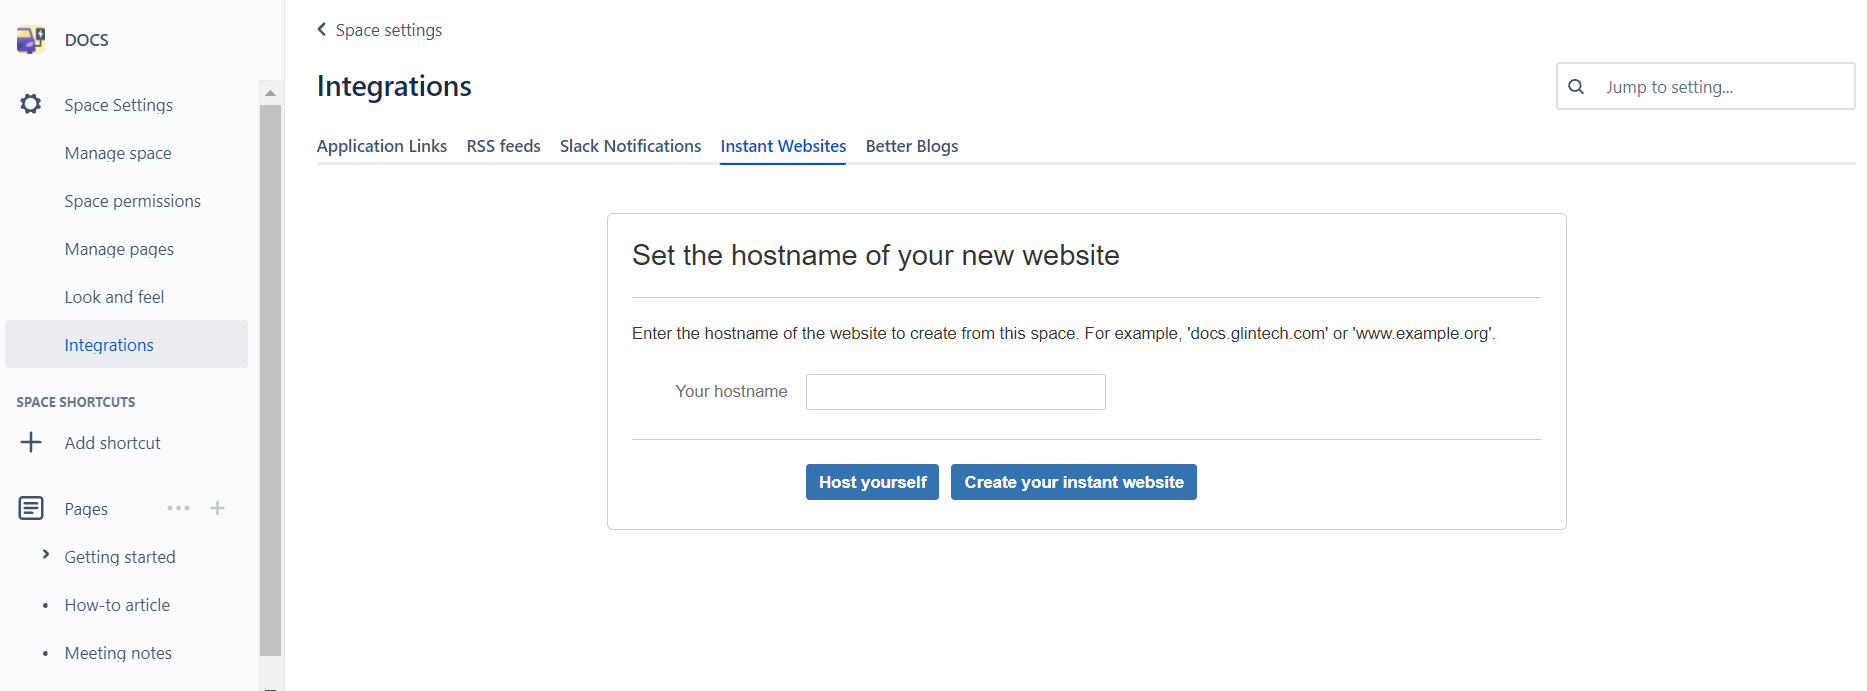
Enable Instant Websites for a Space
Space Administrators can enable Instant Websites for their space. You will be asked for the URL of the publicly accessible address, for example, my.domain.com.

If evaluating the app, only one Instant Website can be created. Once an active subscription is applied, you are able to create as many sites as you like.
Instant Websites allows you to publish a Confluence space to publicly accessible hosting.
As such please ensure that you do not inadvertently turn on Instant Websites for a space that you do not wish to be publicly accessible.
Hosting yourself
If you have you’re own AWS account, you can choose to use Instant Websites with your own S3 bucket.

You will need to provide your AWS API Key, Secret and the AWS Region you want the S3 Bucket created in.
Point the public domain to Instant Websites
Once Instant Websites is enabled for a space we provide a domain name where the static content is stored, for example docs.glintech.com.s3-website-us-east-1.amazonaws.com.
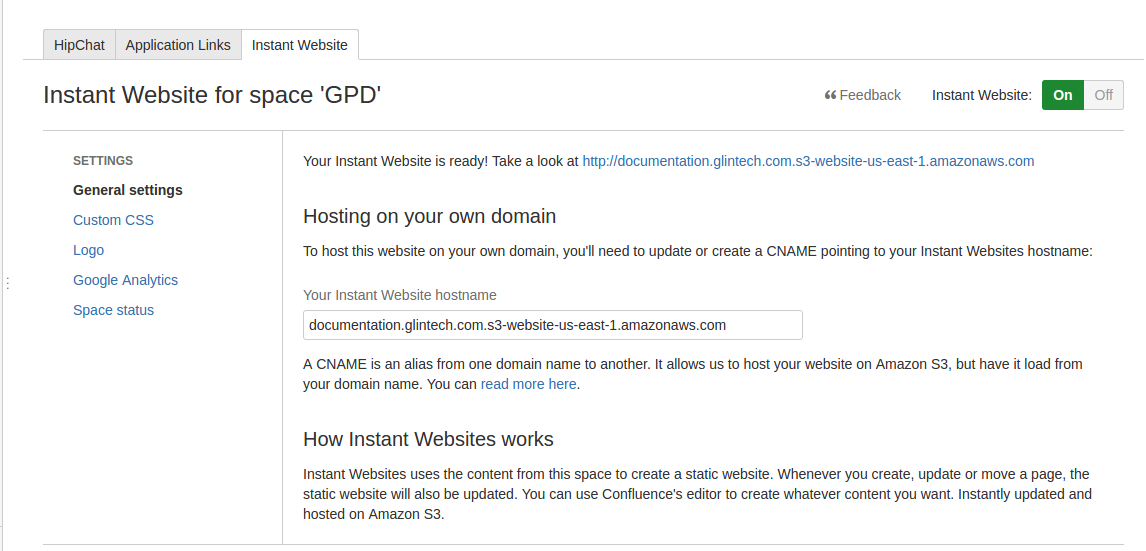
To host this website on your own domain (e.g. docs.glintech.com), you'll need to update or create a CNAME with your DNS provider and point that to the Instant Websites hostname.
A CNAME is an alias from one domain name to another. It allows us to host your website on Amazon S3 (super fast), and have it load from on domain name. You can read more here. Since the sites are hosted on AWS S3, your hostname should be the DNS compliant hostname that you eventually want to be able to access your site from. To understand more about the technical behaviour of this, take a look at Amazon's S3 documentation.
Configuring the Instant Website
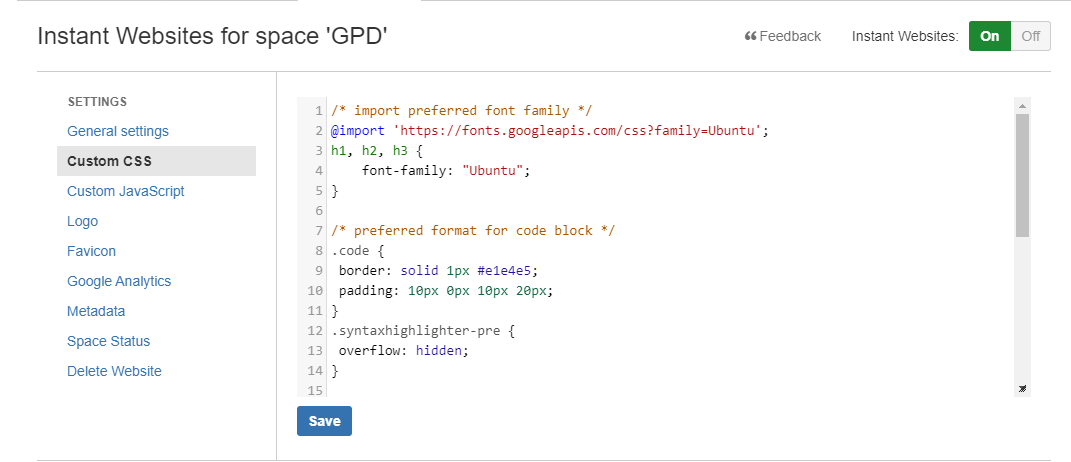
Custom CSS
You've got complete control of how the Instant Website looks via Custom CSS.
See Customer Examples for inspiration.
Custom Javascript
Add additional analytics codes or your own actions and behaviour using Custom JS.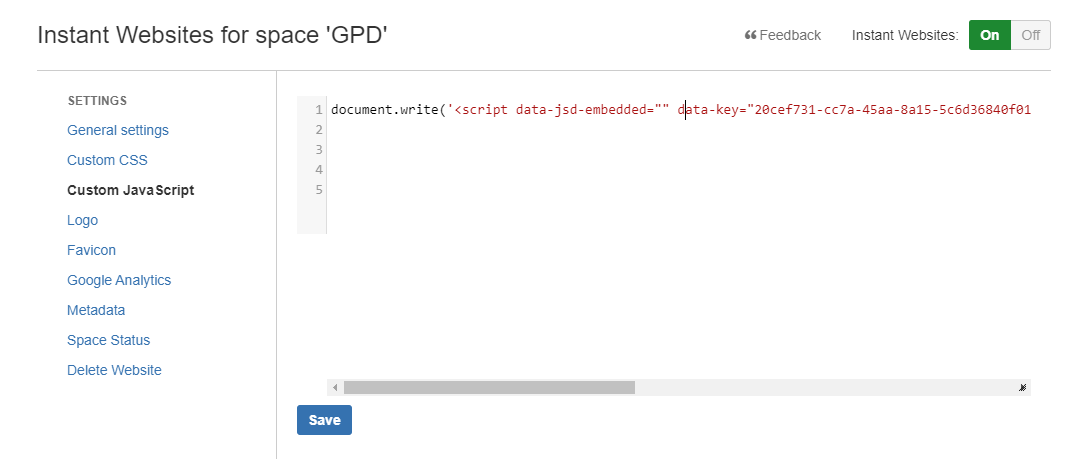
Logo
Upload the logo of your choice. By default, the logo will be displayed at 40 pixels high on a white background. You can change the header background colour to match the logo background colour with Custom CSS (below). It is recommended you resize your logo to be 80 pixels high to render well on retina screens and ensure the logo is less than 40KB.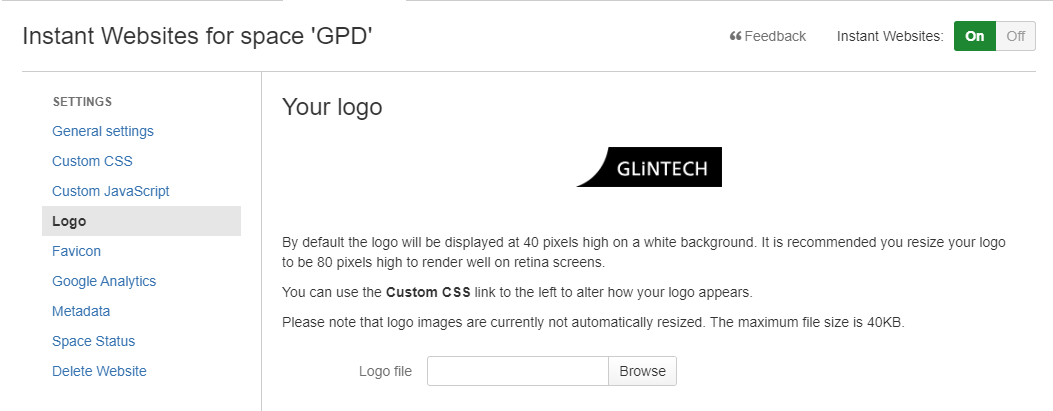
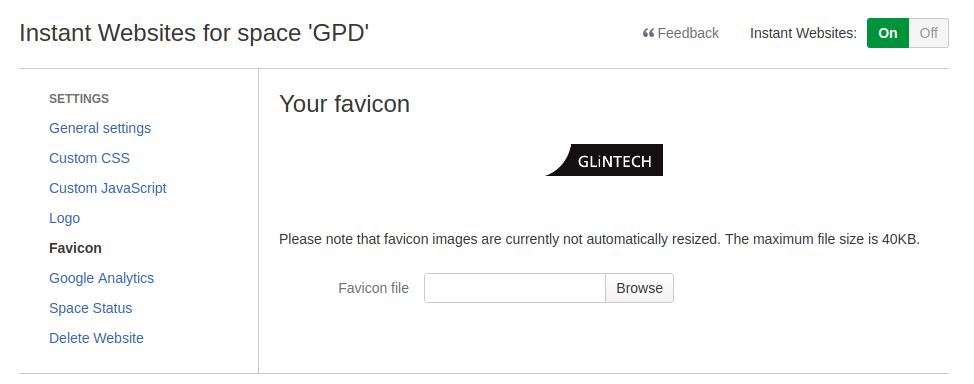
Favicon
Upload the favicon of your choice. It is recommended that your favicon be 96 x 96 pixels, and it must be less than 40KB.
Also, we suggest optimising the favicon image before uploading as the image is currently not automatically resized and may cause problems.
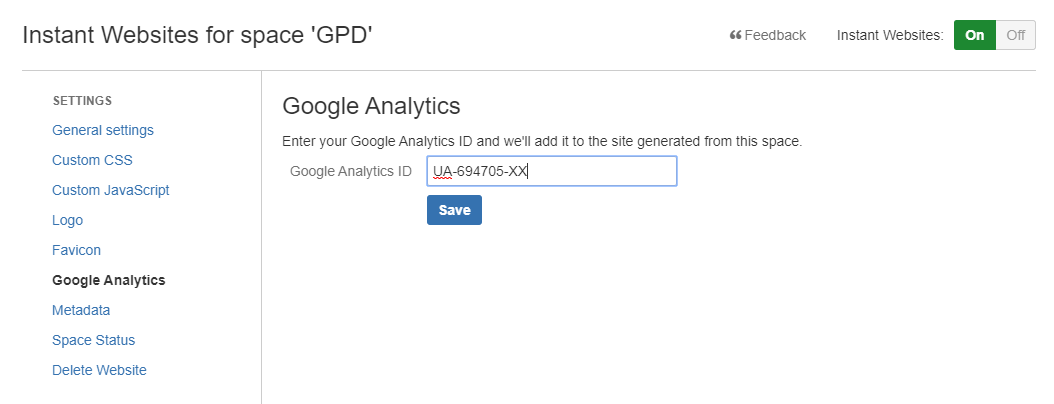
Google Analytics
Add a Google Analytics site ID to the Instant Website to track usage, popular pages and referrals.
Instant Websites now supports Google Analytics 4 so IDs starting with both UA- and G- are accepted.
Metadata
The Metadata configuration page allows you to configure complementary files to your Instant Website. These include a sitemap and any redirects that you need.
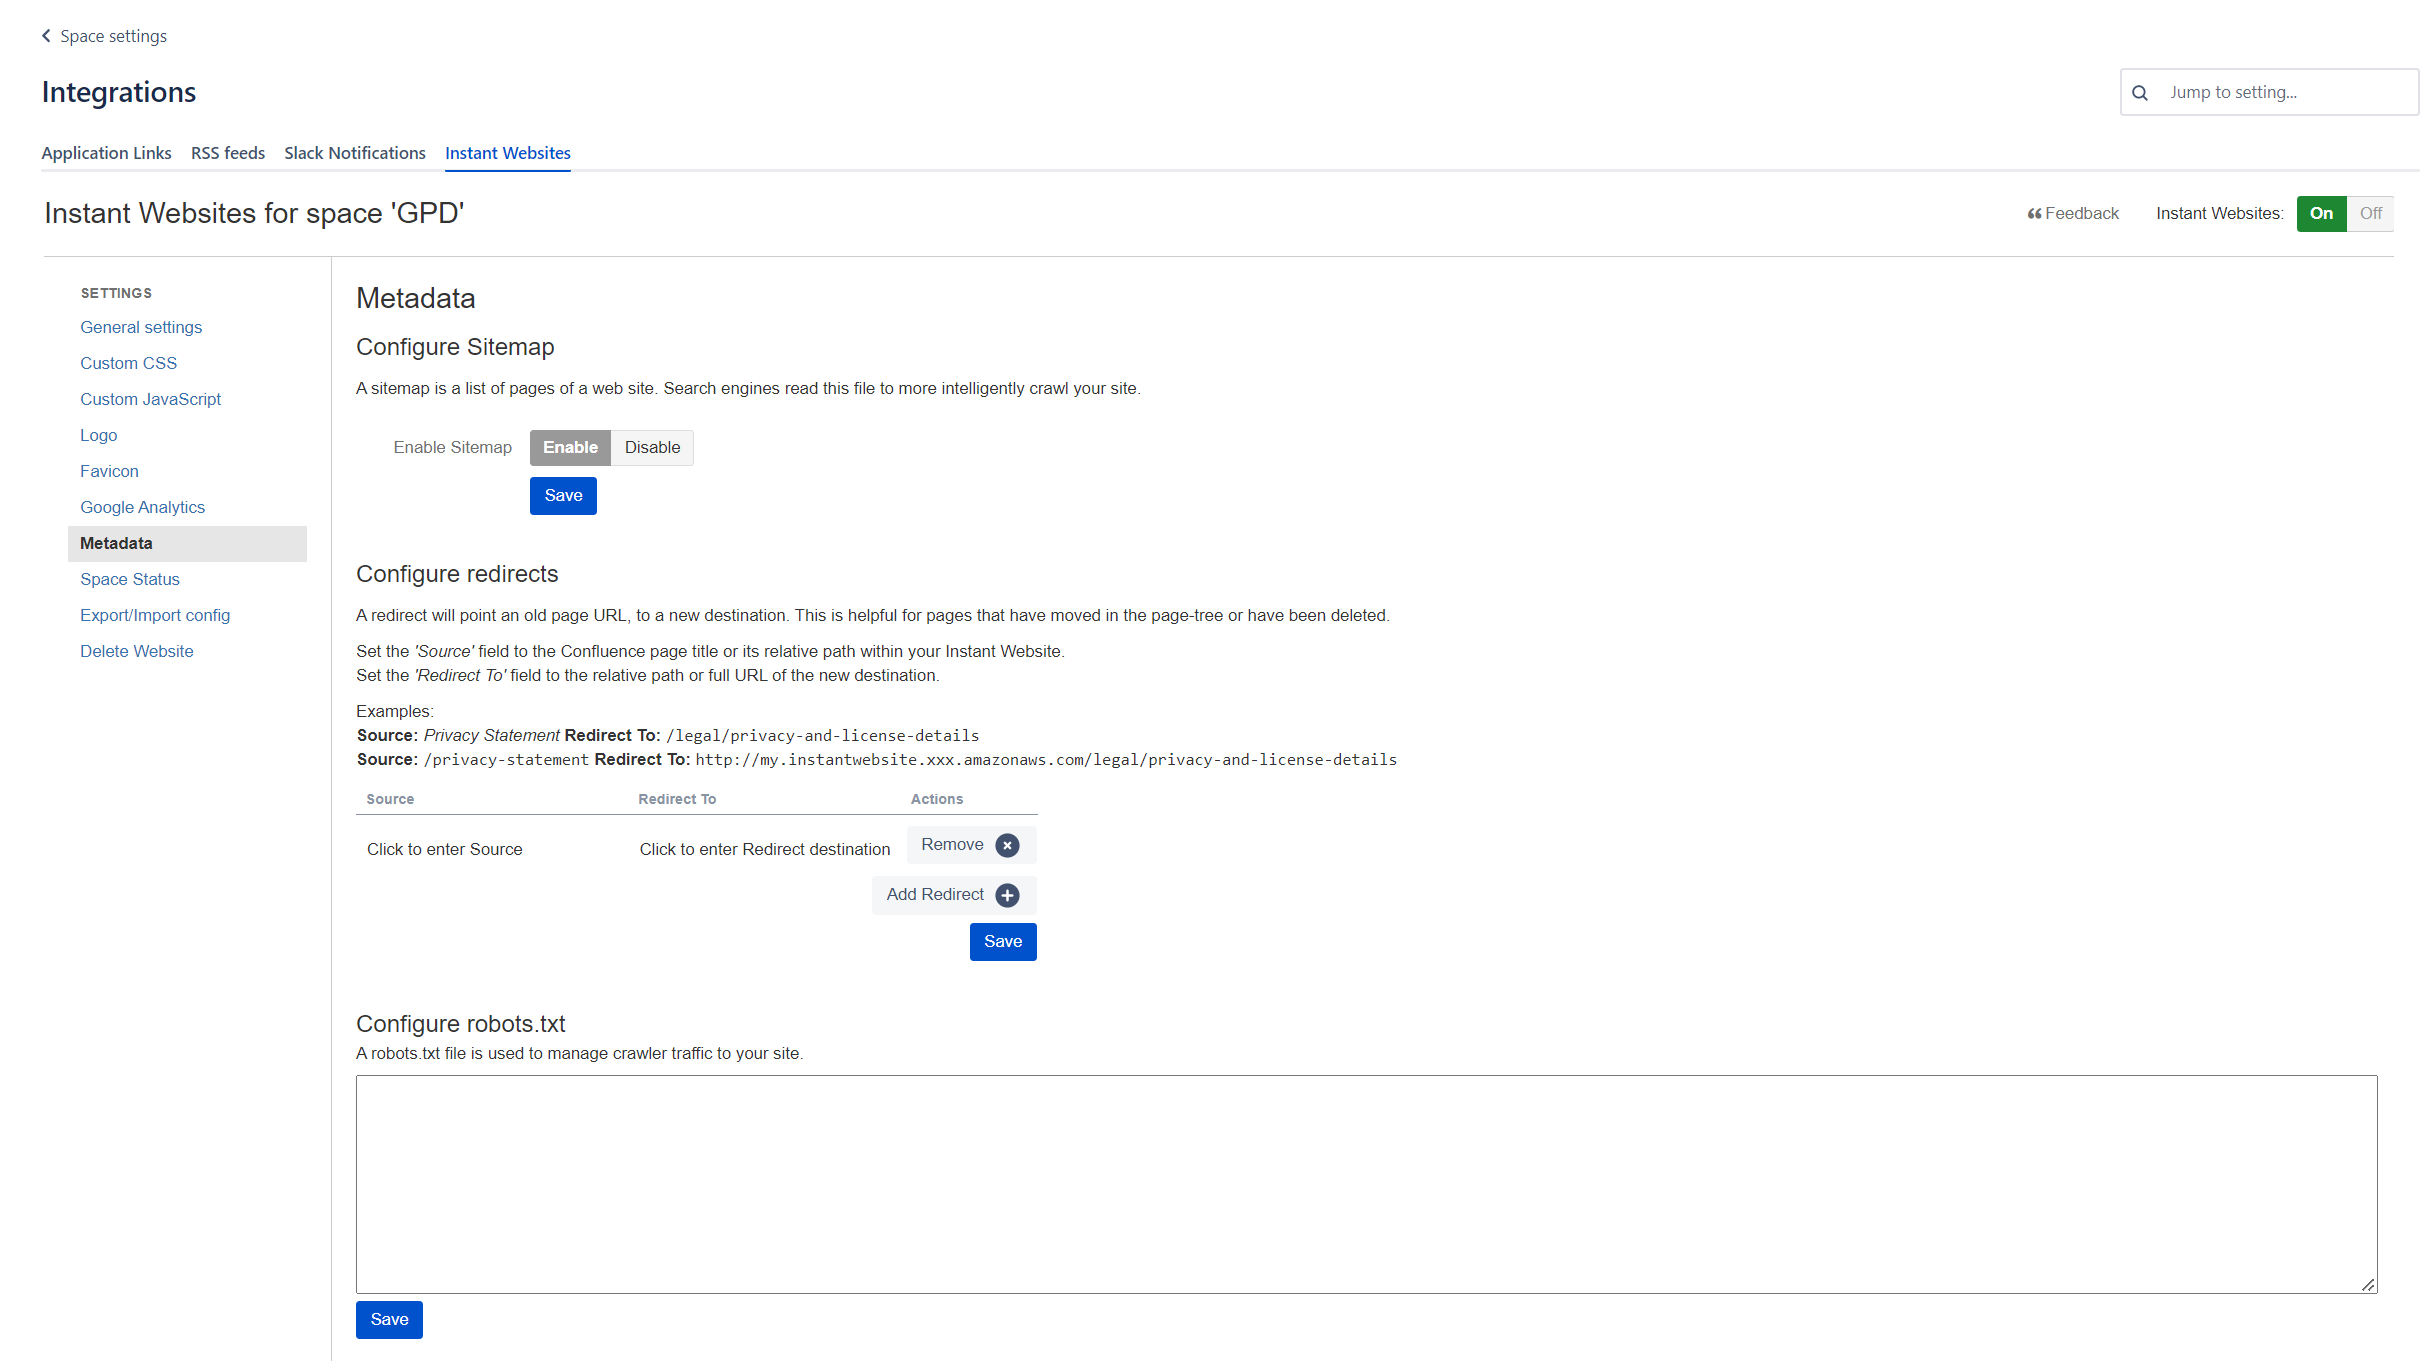
Configure Sitemap
By enabling Sitemap, a sitemap.xml will be generated. A sitemap.xml file is used by search engines for indexing.
Configure Redirects
v1.0.33-AC
When your Instant Website has been published for some time, it can be difficult to restructure your site without creating a number of 404 (page-not-found errors). To help in this scenario, we have introduced some redirect configuration which will allow you to point an old page URL, to a new one. This is helpful for pages that have moved in the page-tree or have been deleted.
The redirect configuration allows you to list a source and a destination:
Set the 'Source' field to the Confluence page title or its relative path within your Instant Website.
Set the 'Redirect To' field to the relative path or full URL of the new destination. (This field is always a value from the published Instant Website.)
Examples:
I would like to redirect users from the old "Private Statement" page to the new page under the "Legal" page.
Option | Source | Redirect To |
|---|---|---|
1.Using the page title for source and relative path for the destination | Privacy Statement | /legal/privacy-and-license-details |
2.Using the relative path for source and full URL for the destination | /privacy-statement | http://my.instantwebsite.xxx.amazonaws.com/legal/privacy-and-license-details |
3.Using the relative path for both source and destination | /privacy-statement | /legal/privacy-and-license-details |
Configure robots.txt NEW!
v1.0.50-AC
Allow site engines to crawl your site by defining which pages they can see.
Add your robots.txt configuration to the text area provided and click “Save”. The site will automatically publish the robots.txt to your instant website.
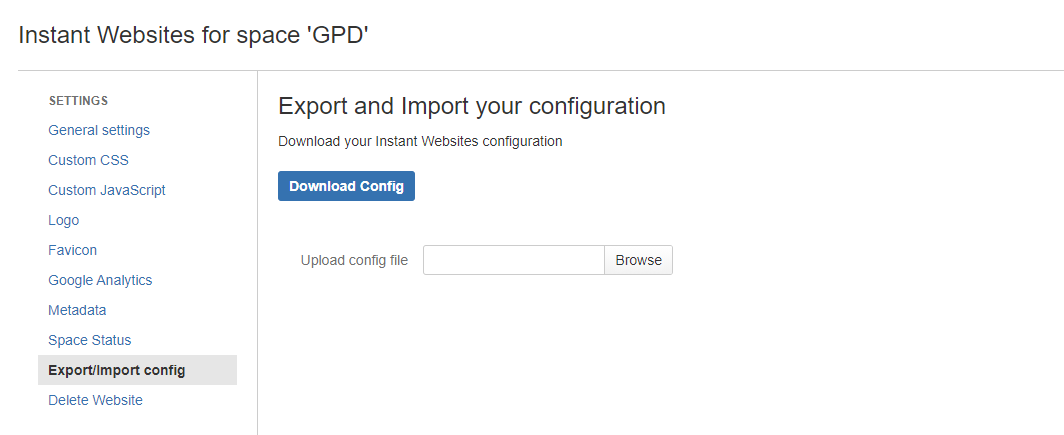
Export/Import Config
Need to start over? Before you delete your website, you can download all of your existing configurations to be re-used. The config can be used for the existing space or another space.
It should be noted that uploading and saving a config file, will overwrite any existing config for the space it is applied to.
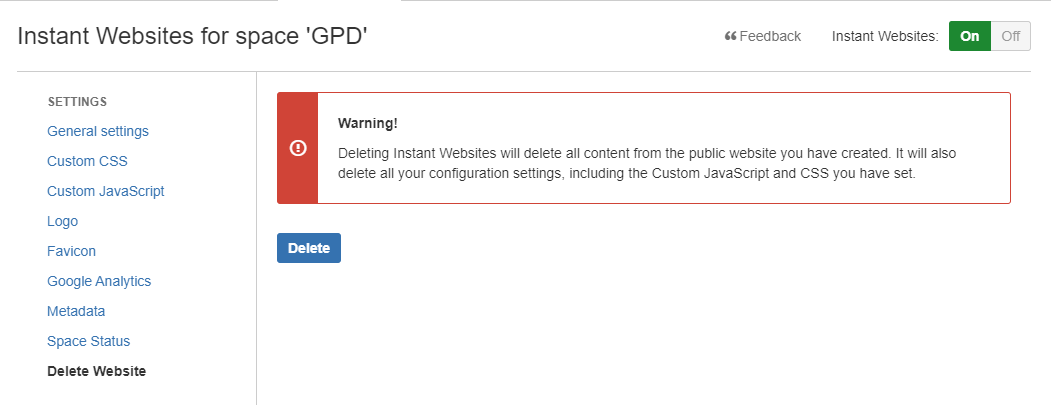
Delete Website
Starting over? Finished with your evaluation? Delete your site using the Delete Website tab. This will delete your hostname and content from the AWS S3 bucket.
Drafts
You can work on drafts privately by restricting permissions to a group, for instance 'employees'. The Instant Websites service account will not be able to see the page and as such won't publish it to the website.
The behaviour is the same with regular per-user drafts - as they are not published on Confluence they are not visible on the website. Although in this scenario you can not collaborate with others as the drafts are private to one user.
Search
Get the most out of the search functionality by adding labels to a page. Labels help drive search results and will assist your end-users in finding the right content.